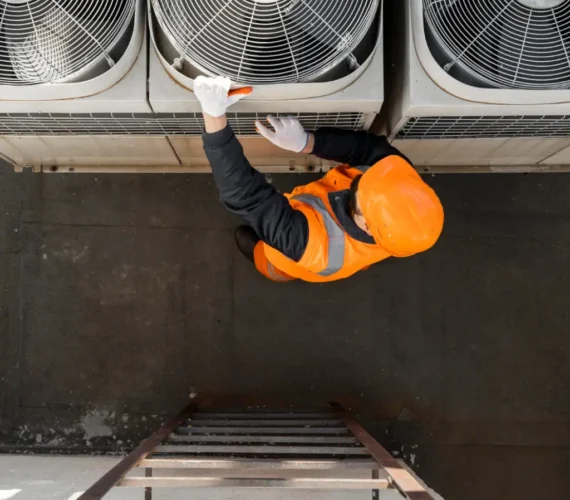
Air conditioning systems are a necessity in today’s world, providing comfort and temperature control for homes and offices. Proper installation of an air conditioning unit ensures efficiency, durability, and optimal performance. This guide explores the critical steps, tools, and considerations required for the installation of air conditioners.
Understanding Different Types of Air Conditioners
1. Central Air Conditioning Systems
Central AC systems are designed to cool entire homes or large spaces by circulating cool air through a network of ducts. Their installation is complex and typically requires professional expertise.
2. Split Air Conditioners
Split systems are ideal for individual rooms. They consist of two units: an indoor unit that cools the room and an outdoor unit that releases heat. They are highly efficient and relatively easy to install.
3. Window Air Conditioners
These are compact units installed in a window or through a wall. They are suitable for small spaces and involve minimal installation work.
4. Portable Air Conditioners
These units are easy to move and require no permanent installation. They are ideal for temporary cooling solutions.
Pre-Installation Checklist
Before starting the installation process, ensure the following:
- Evaluate the Space: Measure the room size and calculate the required cooling capacity in BTUs.
- Choose the Right Unit: Select an air conditioner that matches the room’s size and requirements.
- Inspect Electrical Supply: Verify that the electrical wiring and circuit breaker can support the AC unit.
- Check Ventilation Needs: Ensure proper airflow for both indoor and outdoor units.
Tools and Equipment Required
For a successful installation, gather the following tools:
- Drill machine
- Screwdrivers
- Adjustable wrench
- Stud finder
- Measuring tape
- Vacuum pump
- Leveling tool
- Refrigerant lines and insulation materials
Step-by-Step Guide to Air Conditioner Installation
1. Preparing the Installation Site
- Locate the Ideal Spot: Position the indoor unit on a sturdy wall away from direct sunlight or heat sources.
- Mark the Drilling Points: Use a template to mark holes for mounting brackets and refrigerant lines.
2. Installing the Indoor Unit
- Mount the Brackets: Securely attach the brackets using screws and a drill. Ensure they are perfectly level.
- Fix the Indoor Unit: Attach the indoor unit to the brackets and connect the refrigerant lines.
3. Setting Up the Outdoor Unit
- Choose a Stable Location: The outdoor unit should be placed on a flat, stable surface with adequate ventilation.
- Secure the Unit: Use bolts to anchor the outdoor unit to prevent vibrations.
- Connect Refrigerant Lines: Link the refrigerant lines from the indoor unit to the outdoor unit, ensuring tight seals.
4. Electrical Wiring and Connections
- Install the Circuit Breaker: Ensure the AC unit has a dedicated circuit breaker to prevent electrical overloads.
- Connect the Wires: Follow the manufacturer’s wiring diagram to connect power and control wires between the indoor and outdoor units.
5. Vacuuming and Charging the System
- Evacuate the Refrigerant Lines: Use a vacuum pump to remove air and moisture from the refrigerant lines.
- Charge with Refrigerant: Add the appropriate refrigerant to the system as per the manufacturer’s instructions.
6. Testing the System
- Power On the Unit: Turn on the air conditioner and test all functions, including cooling, fan speed, and temperature settings.
- Inspect for Leaks: Check refrigerant lines and connections for leaks using a soap solution.
Common Installation Mistakes to Avoid
- Improper Placement of Units: Placing the outdoor unit in an enclosed area can hinder airflow and reduce efficiency.
- Skipping Vacuuming: Failing to evacuate the lines can lead to system damage and poor performance.
- Incorrect Refrigerant Levels: Overcharging or undercharging refrigerant can harm the compressor.
Benefits of Professional Installation
While DIY installation is possible for some types of air conditioners, professional installation offers significant advantages:
- Expertise: Professionals ensure proper setup and avoid potential mistakes.
- Efficiency: Proper installation enhances energy efficiency and reduces operational costs.
- Warranty Protection: Many manufacturers require professional installation to maintain warranty validity.
Maintaining Your Air Conditioner Post-Installation
Regular maintenance is crucial to ensuring the longevity and efficiency of your air conditioner. Here are some essential tips:
- Clean or Replace Filters: Dirty filters restrict airflow and reduce cooling performance.
- Inspect Coils: Check evaporator and condenser coils for dirt and debris buildup.
- Schedule annual servicing: Hire professionals for an annual tune-up to keep your system running smoothly.
Conclusion
The installation of air conditioners is a critical process that affects their performance and lifespan. By following the steps outlined in this guide, you can ensure a successful installation and enjoy efficient cooling for years to come. Whether you opt for a DIY approach or hire professionals, prioritize proper planning and adhere to safety protocols.
